परिचय
This manual provides comprehensive instructions for the installation, operation, maintenance, and troubleshooting of your Akebono ACT941 Proact Ultra Premium Ceramic Disc Brake Pad Kit. Designed for passenger cars, these ceramic brake pads offer superior braking performance and quiet operation. Please read this manual thoroughly before beginning any work to ensure proper installation and safe operation.
सुरक्षा जानकारी
चेतावनी: Brake system work requires specialized knowledge and tools. Improper installation can lead to brake failure, serious injury, or death. If you are not confident in your ability to perform this installation safely, seek assistance from a qualified automotive technician.
- सुरक्षा चश्मा र पन्जा सहित सधैं उपयुक्त व्यक्तिगत सुरक्षात्मक उपकरण (PPE) लगाउनुहोस्।
- काम सुरु गर्नु अघि गाडी समतल सतहमा ज्याक स्ट्यान्डमा सुरक्षित रूपमा अडिएको छ भनी सुनिश्चित गर्नुहोस्। कहिल्यै पनि ज्याकमा मात्र भर नपर्नुहोस्।
- Disconnect the negative battery terminal before working on any electrical components near the brake system.
- ब्रेक फ्लुइडलाई रंग लगाइएको सतहहरूसँग सम्पर्कमा आउन नदिनुहोस्, किनकि यसले रंगलाई क्षति पुर्याउन सक्छ।
- Dispose of old brake components and fluids according to local regulations.
सेटअप र स्थापना
This section outlines the general procedure for installing the Akebono ACT941 brake pads. Specific steps may vary slightly depending on your vehicle's make and model. Refer to your vehicle's service manual for detailed instructions.
उपकरण र आवश्यक सामग्री:
- सवारी साधनको ज्याक र ज्याक स्ट्यान्डहरू
- लग रेन्च
- सकेट सेट र र्याचेट
- सी-सीएलamp वा ब्रेक क्यालिपर पिस्टन कम्प्रेसन उपकरण
- ब्रेक क्लीनर
- उच्च-तापमान ब्रेक लुब्रिकेन्ट (जस्तै, सिलिकन-आधारित)
- टोक़ रेन्च
- तार ब्रश
- New Akebono ACT941 brake pads
स्थापना चरणहरू:
- गाडी तयार गर्नुहोस्: Park the vehicle on a level surface, engage the parking brake, and block the rear wheels. Loosen the lug nuts on the wheels where brake pads will be replaced.
- लिफ्ट र सुरक्षित: Jack up the vehicle and place it securely on jack stands. Remove the lug nuts and then the wheel.
- Remove Caliper Bolts: Locate the caliper guide pin bolts (usually two). Remove these bolts using the appropriate socket.
- क्यालिपर हटाउनुहोस्: Carefully slide the caliper off the rotor. Do not let the caliper hang by the brake hose; support it with a wire or bungee cord to prevent damage to the hose.
- पुरानो ब्रेक प्याडहरू हटाउनुहोस्: Remove the old brake pads from the caliper bracket. Note their orientation. Remove any old shims or hardware.
- Clean Caliper Bracket: Use a wire brush and brake cleaner to thoroughly clean the caliper bracket, especially where the brake pads slide. Apply a thin layer of high-temperature brake lubricant to the caliper slide pins and the contact points on the bracket where the new pads will rest.
- कम्प्रेस क्यालिपर पिस्टन: C-cl प्रयोग गर्नुहोस्amp or a brake caliper piston compression tool to slowly and evenly push the caliper piston back into its bore. This creates space for the thicker new pads. Monitor the brake fluid reservoir to ensure it does not overflow.
- Install New Hardware and Pads: Install any new shims or hardware provided with your Akebono ACT941 kit onto the caliper bracket. Insert the new Akebono ACT941 brake pads into the caliper bracket, ensuring they are correctly seated and oriented.
- क्यालिपर पुन: स्थापना गर्नुहोस्: Carefully slide the caliper back over the new pads and rotor. Align the caliper with the guide pin holes.
- Secure Caliper Bolts: Reinstall the caliper guide pin bolts and tighten them to the manufacturer's specified torque. Refer to your vehicle's service manual for torque specifications.
- पाङ्ग्रा पुन: स्थापना गर्नुहोस्: पाङ्ग्रा पुन: स्थापना गर्नुहोस् र लग नटहरू हातले कस्नुहोस्।
- तल्लो सवारी साधन: गाडीलाई जमिनमा तल पार्नुहोस।
- टर्क लग नट्स: Fully tighten the lug nuts in a star pattern to the vehicle manufacturer's specified torque.
- अन्य पाङ्ग्राहरूको लागि दोहोर्याउनुहोस्: Repeat the process for all wheels requiring brake pad replacement.
- पम्प ब्रेक पेडल: Before driving, slowly pump the brake pedal several times until it feels firm. This will seat the caliper pistons against the new pads. Check the brake fluid level and top off if necessary.
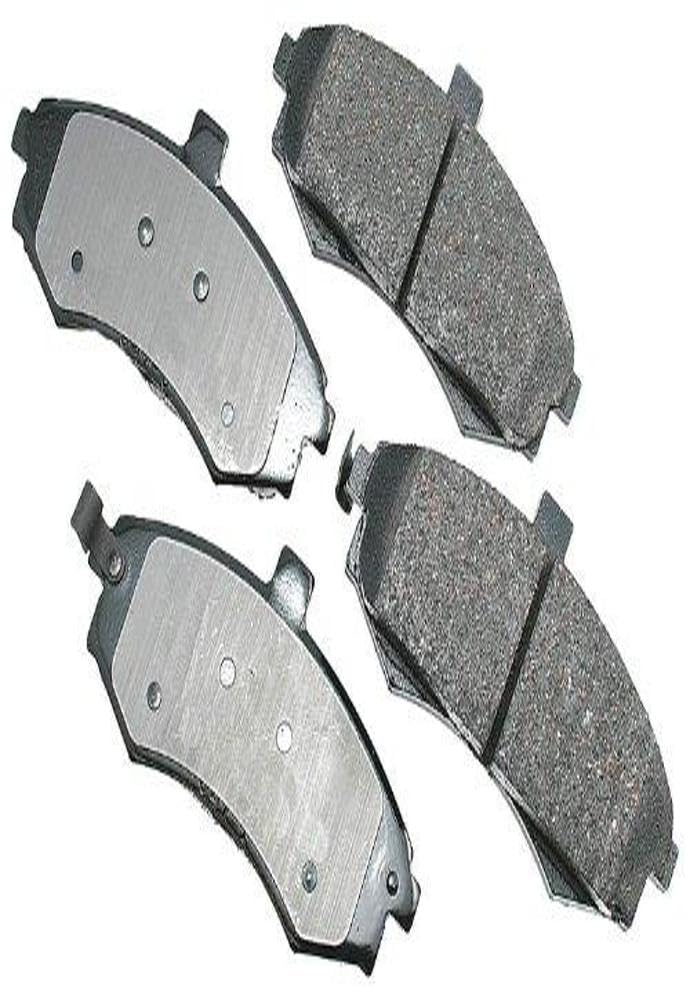
Image: Akebono ACT941 Proact Ultra Premium Ceramic Disc Brake Pad Kit. This image shows the complete brake pad kit, including the ceramic pads and associated hardware.
Operating (Brake Pad Bedding-In Procedure)
Properly bedding-in new brake pads is crucial for optimal performance, longevity, and quiet operation. This process transfers a thin layer of pad material to the rotor surface, creating an even friction layer.
- कुनै पनि अवरोध बिना गति बढाउन र ब्रेक लगाउन सक्ने सुरक्षित, खुला क्षेत्र खोज्नुहोस्।
- लगभग ३५ माइल प्रतिघण्टा (५५ किमी/घण्टा) को गति बढाउनुहोस् र लगभग ५ माइल प्रतिघण्टा (८ किमी/घण्टा) को गति घटाउन मध्यम ब्रेकिङ प्रेसर लागू गर्नुहोस्। पूर्ण रूपमा नरोक्नुहोस्।
- यो प्रक्रिया ८-१० पटक दोहोर्याउनुहोस्, प्रत्येक स्टपको बीचमा छोटो शीतल अवधि दिनुहोस्।
- After the initial 5-6 stops, accelerate to approximately 50 mph (80 km/h) and apply firm braking pressure (but not hard enough to engage ABS) to slow down to about 5 mph (8 km/h).
- Repeat this firmer braking process 2-3 times, allowing a longer cool-down period between each stop.
- Avoid hard braking or prolonged braking (e.g., long downhill descents) for the first 200-300 miles (320-480 km) after installation.
During the bedding-in process, you may notice a slight burning smell or some smoke from the brakes. This is normal. Ensure the brakes are not overheated to the point of fading.
मर्मतसम्भार
Regular inspection and maintenance of your brake system are essential for safety and performance.
- आवधिक निरीक्षण: Inspect brake pads, rotors, and calipers at least once a year or every 12,000 miles (19,000 km), or as recommended by your vehicle manufacturer. Check for pad wear, rotor condition (grooves, cracks), and caliper leaks.
- ब्रेक फ्लुइड: Check brake fluid level regularly. If the level is low, it may indicate worn pads or a leak. Use only the brake fluid specified by your vehicle manufacturer.
- सरसफाई: If excessive brake dust accumulates, use a dedicated brake cleaner to remove it. Avoid using harsh chemicals that could damage rubber components.
- प्याड प्रतिस्थापन: Replace brake pads when they reach their minimum thickness specification, typically around 2-3mm of friction material remaining.
समस्या निवारण
यस खण्डले तपाईंको ब्रेक प्रणालीमा तपाईंले सामना गर्न सक्ने सामान्य समस्याहरूलाई सम्बोधन गर्दछ।
| लक्षण | सम्भावित कारण | समाधान |
|---|---|---|
| चिच्याउने/चिच्याउने आवाज |
|
|
| पीस आवाज |
|
|
| कम्पन/धड्कन |
|
|
| नरम/स्पन्जी पेडल |
|
|
निर्दिष्टीकरणहरू
| सुविधा | विवरण |
|---|---|
| ब्रान्ड | Akebono |
| मोडेल नम्बर | ACT941 |
| सामग्री | सिरेमिक |
| अटो पार्ट स्थिति | अगाडि |
| सवारी सेवा प्रकार | यात्रु गाडी |
| विशिष्टता मेट | OEM |
| समावेश अवयवहरू | Brake Pad Kit |
| वस्तुको वजन | 16 औंस (0.45 किलोग्राम) |
| UPC | 821726003393 |
वारेन्टी जानकारी
The Akebono ACT941 Proact Ultra Premium Ceramic Disc Brake Pad Kit comes with a ७ वर्षको निर्माताको वारेन्टी. This warranty covers defects in materials and workmanship under normal use and service. For specific terms, conditions, and claim procedures, please refer to the official Akebono warranty documentation or contact Akebono customer support.
ग्राहक समर्थन
For further assistance, technical questions, or warranty claims regarding your Akebono ACT941 brake pads, please contact Akebono customer support directly. You can typically find contact information on the Akebono official webसाइट वा उत्पादन प्याकेजिङ भित्र।
Always refer to your vehicle's specific service manual for detailed instructions and torque specifications relevant to your make and model.