परिचय
This manual provides essential information for the safe and effective use of your Treedix 5.5V 80mA Polysilicon Solar Panels. These panels are designed to convert sunlight into electricity, making them suitable for various DIY solar projects, charging small DC batteries, and powering small electronic devices.
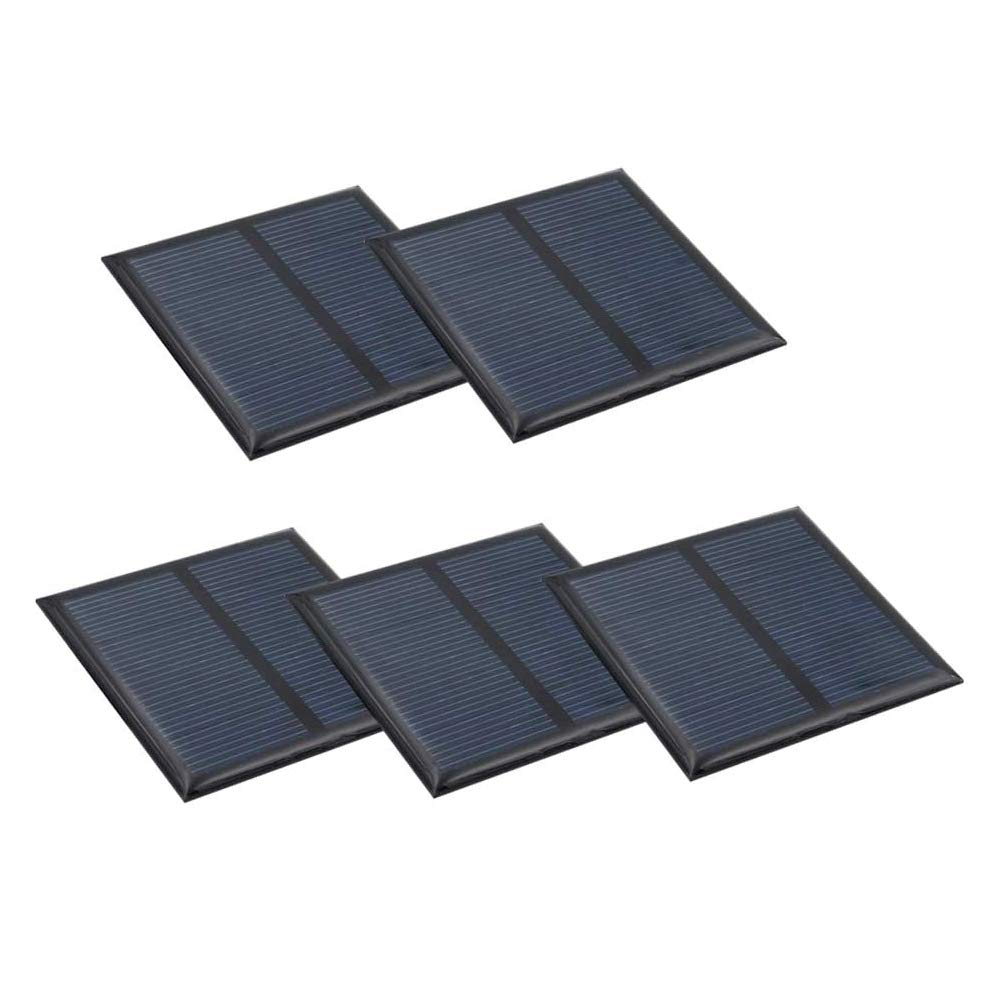
Each panel is constructed from polysilicon solar cells, encapsulated in waterproof epoxy resin, and mounted on a Printed Circuit Board (PCB). This design offers resistance to compression, corrosion, and provides a clear appearance, ensuring durability and performance in various environments.
सुरक्षा जानकारी
- Handle solar panels with care to avoid damage to the cells or encapsulation.
- Do not attempt to disassemble or modify the solar panel. This can lead to damage and void any potential support.
- Ensure proper electrical connections. Incorrect wiring can cause short circuits or damage to connected devices.
- Always use a diode when connecting the solar panel to a battery or supercapacitor to prevent reverse current flow, which can drain the battery at night or in low light conditions.
- प्यानललाई अत्यधिक भौतिक प्रभाव वा धारिलो वस्तुहरूको सम्पर्कमा नआउनुहोस्।
- Keep the panel clean and free from obstructions to ensure optimal performance.
उत्पादन समाप्त भयोview
The Treedix 5.5V 80mA Polysilicon Solar Panel is a compact and efficient power source for small-scale applications. Its design ensures reliable performance and ease of integration into various projects.
चित्र १: शीर्ष view of the Treedix 5.5V 80mA Polysilicon Solar Panel, showing the solar cells.

चित्र १: अगाडि र पछाडि view of the solar panel, illustrating its compact design and PCB backing.

Figure 3: The solar panel held in a hand, demonstrating its small and portable size.
These panels are ideal for various DIY applications such as solar lawn lamps, solar wall lamps, solar art crafts, solar toys, solar radios, solar aluminum flashlights, solar power bank chargers, and solar mini water pumps.
सेटअप र जडान
Follow these steps to properly set up and connect your solar panel:
- ध्रुवीयता पहिचान गर्नुहोस्: The solar panel will have positive (+) and negative (-) terminals. Ensure you correctly identify these before making any connections.
- Connect to Load/Battery: Connect the solar panel's positive terminal to the positive input of your device or battery charger, and the negative terminal to the negative input.
- Use a Diode: It is crucial to use a diode in series with the positive output of the solar panel when connecting to a battery or supercapacitor. This prevents the battery from discharging back through the solar panel during periods of low light or darkness.
- Series or Parallel Connection:
- श्रृंखला जडान: कुल मात्रा बढाउनtage, connect the positive terminal of one panel to the negative terminal of the next. The current remains the same.
- समानान्तर जडान: To increase the total current, connect all positive terminals together and all negative terminals together. The voltage उस्तै रहन्छ।
- ब्याट्री मिलान: भोल्युम सुनिश्चित गर्नुहोस्tage of your solar panel is appropriate for the battery you intend to charge. Refer to the table below for common battery voltage matching specifications:
| ब्याट्री भोल्युमtage | सिफारिस गरिएको Solar Panel Voltage |
|---|---|
| 1.2V | 2V ~ 2.5V |
| 2.4V | 3.5V ~ 4V |
| 3.6V | 5V ~ 6V |
| 6V | 7.5V ~ 9V |
| 12V | 15V ~ 18V |
सञ्चालन
For optimal performance, position the solar panel to receive maximum direct sunlight. The panel's efficiency is directly related to the intensity of light it receives and the ambient temperature.
- प्रकाश तीव्रता: The panel performs best under strong, direct sunlight. Performance will decrease in cloudy conditions or shaded areas.
- तापक्रम: The specified performance (e.g., 80mA current) is typically measured at a standard testing temperature of 25°C (77°F) and a light intensity of 40000 lux. Extreme temperatures can affect efficiency.
- कोण: Orient the panel towards the sun at an angle that maximizes direct exposure throughout the day.
मर्मतसम्भार
These solar panels require minimal maintenance to ensure long-term performance:
- सरसफाई: समय-समयमा सौर्य प्यानलको सतहलाई नरम, घ ले सफा गर्नुहोस्।amp cloth to remove dust, dirt, or debris that may accumulate and reduce efficiency. Avoid abrasive cleaners or materials that could scratch the surface.
- निरीक्षण: Regularly inspect the panel for any signs of physical damage, such as cracks in the epoxy resin or loose connections.
- पर्यावरण संरक्षण: While encapsulated in waterproof resin, prolonged submersion or exposure to harsh chemicals should be avoided.
समस्या निवारण
If your solar panel is not performing as expected, consider the following:
- No Output/Low Output:
- Ensure the panel is receiving direct sunlight. Shading, even partial, can significantly reduce output.
- Check all connections for proper polarity and secure contact.
- Verify that the diode (if used) is correctly installed and not faulty.
- Clean the panel surface to remove any dirt or obstructions.
- ब्याट्री चार्ज नहुने:
- Confirm the solar panel's voltage matches the battery's requirements (refer to the Battery Matching Specifications table).
- Ensure the charging circuit or device connected to the panel is functioning correctly.
- Check if the battery itself is faulty or has reached its end of life.
निर्दिष्टीकरणहरू
| सुविधा | निर्दिष्टीकरण |
|---|---|
| सामग्री | Polysilicon, Encapsulated in Waterproof Resin (Polyresin) |
| मोटाई | 3mm |
| साइज | २ x २ इन्च (५१ x ५१ मिमी) |
| काम भोल्युमtage | 5.5V |
| कार्य वर्तमान | 80mA |
| शक्ति | 0.44W |
| रूपान्तरण दर | ८६% |
| काम गर्ने तापमान | -10°C देखि 60°C (14°F देखि 140°F) |
| Standard Testing Conditions | Light intensity: 40000 lux, Temperature: 25°C |
| कनेक्टर प्रकार | PCB & Glue (no pre-attached USB connector) |
वारेन्टी र समर्थन
For specific warranty information or technical support, please refer to the official Treedix webसाइटमा जानुहोस् वा आफ्नो खुद्रा विक्रेतालाई सम्पर्क गर्नुहोस्। खरिदको प्रमाणको रूपमा आफ्नो खरिद रसिद राख्नुहोस्।
You can find more information and products from Treedix by visiting the Treedix Store on Amazon.